- Page 20 of 25 - DIY Beauty Tutorials

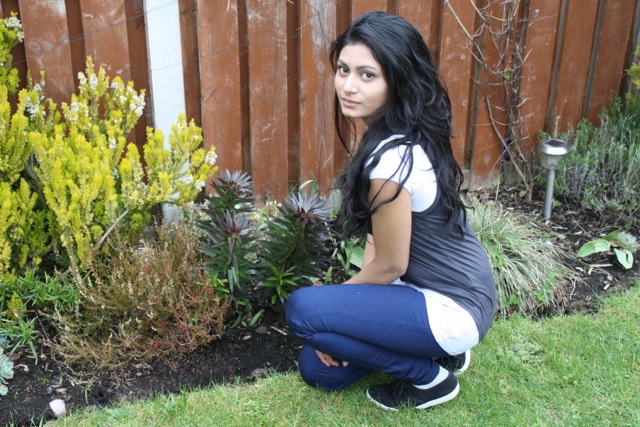
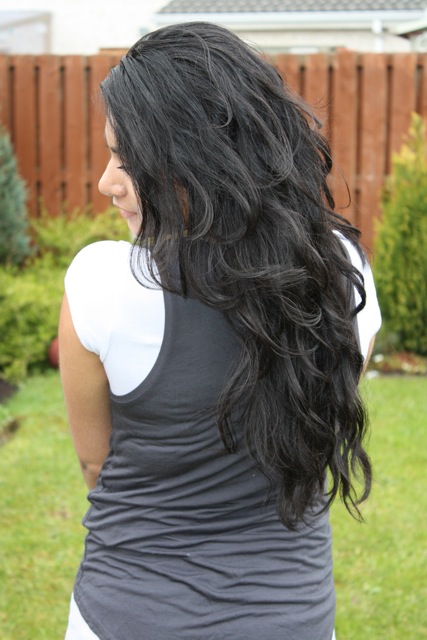
DIY: Get Rid of Dandruff Naturally

This was a request made from one of lovely Blog Readers. Well there are a number of reasons why people get dandruff. Whatever the reasons are.. read more to find the causes and what to do to prevent it…

Causes of Dandruff:

  • First of all you are not the only one with dandruff. Let me tell you that 1 in every 5 people have dandruff. Now it can be because your scalp is either dry or greasy.
  • If its dry, you will have flaky dandruff and if its oily, your scalp with be itchy.
  • It is also possible that you have product build up on your scalp and thats what is causing the flakiness.
  • Other reasons are stress, hormones or problem with immune system.

Now we can’t control hormones and immune system. However we can solve the problem.

Preventing Dandruff:

  •  For Dry Scalp, use Castor Oil to add moisture on your roots. Alternatively, you can use Aloe Vera, Coconut Oil or Almond Oil.
  • For Greasy Scalp, mix lemon juice with tea tree oil or aloe vera. Tea Tree oil is excellent to get rid of dandruff.
  • If you have product build up, use a Clarifying Shampoo. I use Pantene’s Clarifying Shampoo. It gets rid of all the product build up and I ABSOLUTELY love it.

Anti-Dandruff Hair Masks:

  1. Honey, Yoghurt and Lemon– Lemon and Yoghurt are known to get rid of dandruff. We use honey   because lemon can be a little drying on hair since its acidic. If your hair is really dry though, add either castor oil or lavender essential oil or almond oil in the mask.
  2.  Aloe Vera and Tea Tree: Both extracts are also known to get rid of dandruff. You can add your                       choice of essential oil so your hair smells exotic.     
  3.  Apple Cider Vinegar: This is what most people recommend however I don’t like rinsing my hair with some vinegar but you guys can try if you don’t have a   problem. You simply pour some of this on your hair and massage for 5 mins and then rinse it off with water. They say the smell goes away once it dries. But still it kinda disgusts me so I never tried this mask before.
Personal Experience: I used to have dandruff but not much and that too occasionally. But the main reason I had dandruff was because I had dry scalp. But now that I condition my hair regularly with Natural Home-made Masks, I don’t get dandruff. You can check my post where I posted the Natural Mask I use regularly HERE.
I hope this post helps you guys and let me know your experience 🙂 Take Care.

Follow Me on Pinterest

Love Krishna xxx

DIY: 3 Creative Candle Holders

Currently, I am doing a project in my Technology class where I am making an Electric Candle Holder so I typed in Google for some inspiration and I came across some pictures of DIY Candle Holders which were absolutely amazing. So these aren’t really my ideas but I wanted to share with you all.

My Favourite One:


 I think its pretty obvious. I don’t need to explain much here. But just for the sake of blog…
Find some twigs and branches from your back garden or nearby parks.
Cut them in equal sizes with.. I guess scissors if they work and be careful 🙂
Use hot glue guns or PVA glue or any liquidy glues to stick them on a container that looks like the one in picture.
I personally like the small cute ones than the big one.
After glued, leave them overnight and you are done!!
You can tie a rope like a ribbon as shown as well. Use your own creativity 🙂

I love this one because you can make it from scrap books.
So get some decorative paper. It doesn’t have to be the exact one shown in picture.
Glue the paper on the outside of the jar.
Tie several rounds of string on the top of jar and you can hang some pieces you want. Like in the picture, they hung a key.
Click HERE from where this really cute idea came from.


Click HERE for the tutorial.
All you need is paper, scissor and container.
I love the way its white and elegant.

Take Care. 

Follow Me on Pinterest

Love Krishna xxx

DIY: Expert Tips for Perfect Eyebrows

To be honest when I was 13, I used tweezers for my eye brows and they were NOT perfect at all. They were straight across and just awful.

Now, after 5 years I have learnt it from the experts on YouTube. I get soooo many compliments from my friends too. So of course I am speaking from my experience.

On the left is my picture before 4 years. I am in my uniform but anyways see the way my brows are straight across.. ughh :/
And now you can see me on the right. I took this picture a few weeks ago but its the latest one that clearly shows my brows.

I will also link a video on how to do threading at home. Threading might seem complicated but it’s not. Once you get used to it, you will be a pro. Click HERE for the tutorial.

Threading makes your hair grow slower than tweezing and that is why I use this method now.

Tips:

1) When you are tweezing/ waxing, relax your face and keep your brows in the normal position. DO NOT lift them and tweeze. Because this will give you that straight-across brow.
2) If you already have straight brows, start by growing some brow hair on the top and ALWAYS tweeze them from the bottom. Don’t tweeze them from the top until you get rid of the straight brow shape. This will give you that curve.
3) Try to tweeze your brows only from the bottom and very less from the top. This will help you maintain a good shape.
4) The inside of your brows should start from where your inner corner of the eye is or the edge of your nose.
5) The end of your brow should be diagonal to the edge of your nose to the outer corner of your eye. I hope this make sense.
6) In my opinion your arch should depend on the expression of your face. So lift your brows and you will kind of notice the arch and that’s where it should be. Otherwise you can follow the picture shown above.
7) If it is your first time then PLEASE get them done professionally and then you can maintain that shape. This is the mistake I made. It doesn’t cost much as well.

Let me know if it helped you 🙂 Take Care.

Follow Me on Pinterest

Love Krishna xxx

DIY: Face Highlighter for a Dewy Summer Look

Dewy looks have been popular in summer. They give your skin a healthy glow and makes your skin look healthy. If you have acne, then I would recommend you this because glowy/dewy skin hides acne imperfections.

All you need for this look is a good face primer and liquid eye shadow.
I know it sounds weird but keep reading to reveal the trick…

Apply the primer first to prevent the liquid eye shadow causing any skin problems. I always use my Rimmel’s primer. 

The primer will create a barrier between your skin and liquid shadow. Then very lightly dab the liquid shadow on the cheek bones to give a glow. You can also apply to the outer part of your face. Just follow the face chart in the picture shown.

You can choose this gold bronzy colour for the look shown in picture for a sun kissed glow.

Or you can apply a silver toned shadow for a cool natural look.

You can also use shimmery powder shadow but it won’t give you the dewy look. So I like the liquid one better.
Take Care.

Follow Me on Pinterest

Love Krishna xxx

Hair Mask Review that Changed my Life

Hey girls. Today I want to tell you about my all time fav hair mask in the whole entire world. I started using it 4 weeks ago and already I can see a HUGE difference in the texture and health of my hair. I have tried total 7 different hair masks from drugstores to high ends. I even tried kerastase but it never worked for me. What €24 of hair mask didn’t do anything €4 of this mask did that. Read more to find out …

It is called…………….. Aussie Take The Heat 3 Min Miracle Deep Treatment.

The first time I tried it, I noticed just a little difference but then when I continued using it, my hair got better and better.

So I guess when you try something, you gotta be patient (I am not good at that when it comes to using products :/ )

I would recommend this hair mask for those who have damaged their hair by heat or the ones that have coarse and dry hair. It also prevents hair breakage. I don’t find hair left in the bathtub any more :O

It tells you to keep it on for 3 mins but I keep it on for half hour and then wash it off. In that time I just finish all my work or just relax with a cup of tea <3

Please tell me about your experience with this hair mask. Did it work the magic or was it just another drug store hair mask?…

Take Care.

Follow Me on Pinterest

Love Krishna xxx

DIY: White Pearly Teeth


You guys might have heard the baking soda trick for bleaching teeth but I am not going to mention this trick because I haven’t tried it and it is a common thing that every blogger say so I am going to tell you something different. Plus these tips are experienced so I know they are effective.

First of all do not go to the dentist to bleach your teeth because it is really harmful. You will have long term problems with your gums and other mouth diseases.
Secondly colgate whitening toothpastes never seem to work for me.
1) Buy those toothpastes that are ONLY made for teeth whitening. Because they work better. 
2) Brush your teeth twice in the morning and before going to sleep.
3) Avoid tea, coffee and sugar. They cause discolouration in teeth.
4) Eat foods rich in Vitamin C. They do the bleaching effect. You can rub an orange peel on your teeth before going to sleep.
Take Care.

Follow Me on Pinterest

Love Krishna xxx

DIY: Night Out Nails


Hey girls. Here is my new nail design. I saw a picture like this on Pinterest and found some inspiration. So just thought try them out and here they are. Hope you like them and get inspired 🙂

Take Care.

Follow Me on Pinterest


Love Krishna xxx

DIY: 5 Ways to Reduce Redness on Face

Well, because I am Indian I have brown skin and so I don’t get much redness. But so many people requested me to do a post on this topic so I put a little research and I gathered all the tips and tricks.
From my research some people say that oily skin might cause redness. But before you jump to any decision, please check if your skin is oily or not.
Keep reading if you want to treat it au naturelle. 

1) Anti-redness Mask:

Oatmeal and Milk
Oatmeal has anti inflammatory properties which can reduce redness and we use milk because it calms aggravated skin plus it works as a gentle exfoliator due to lactic acid.


2) Hypnotherapy:

Yes, I know it is a fancy name but trust me all you need for this is your mind and body. It has been proven scientifically that if you can control your body with your mind, then you can prevent redness, blushing, sweating and many other problems. You can start with yoga.

3) Diet:

Avoid hot spicy food.

4) Make up Solution: 

Use green coloured concealer which cancels out the red colour of skin. But be careful using these products. Usually I wouldn’t recommend anyone to put make up on but if you don’t have time then you can use this short cut.

5) Most Common: 

And you girls may have heard of this a lot but lets just say it once more: Drink lots of water. I hear this a lot and it seems to be the solution of everything so why not give it a try. It can solve most of your skin problems.

Let me know about your experience. Take Care.

Follow Me on Pinterest

Love Krishna xxx

My New Youtube Channel and First Video

Hey Girls!! I just wanted to inform you all about my new YouTube channel and the first video we made.


Me and my friend Anna (Her Blog here) are making videos together.
She does all the photography so she was super excited to do all the camera stuff.
And as I am into all the Nail Art stuff, we make videos of tutorials on Nail Designs.
It was all Anna’s idea so I want to thank her sooooo much for encouraging me 🙂

So if you guys have any requests to do any type of nails, don’t hesitate to contact me.
Just click on the Make a Request tab and send me a picture of a nail design that you like and I shall make a tutorial on that.

Here is my first video on: Spring Zebra Nails shown in the picture below.

Take Care.

Follow Me on Pinterest

Love Krishna xxx

DIY: Bedhead Voluminous Waves Without Heat or Rollers

Hey Girls!! Today I will share my secret of getting those messy beachy waves that every girls wants nowadays. But if you don’t want to damage your hair or braid/twist them overnight then keep reading.
This technique will work the best on girls with wavy to curly hair.

To be honest you don’t need anything for this.

  1. Shampoo and Condition your hair an hour before going to bed.
  2. DO NOT brush your hair after washing when they are still wet. Just towel dry the hair.
  3. Before you go to sleep, your hair will be 70% dry in that hour. Now all you need to do is apply a little mousse. Then just scrunch your hair.
  4. I use Pantene Pro-V Volume Mousse.

5.  When you go to sleep, put your hair above your head as shown in the picture. This will create volume.
You will wake up like you just got out of the ocean. Take Care.

P.S. Photography by Anna. Check out her Beauty Blog HERE

Follow Me on Pinterest

Love Krishna xxx